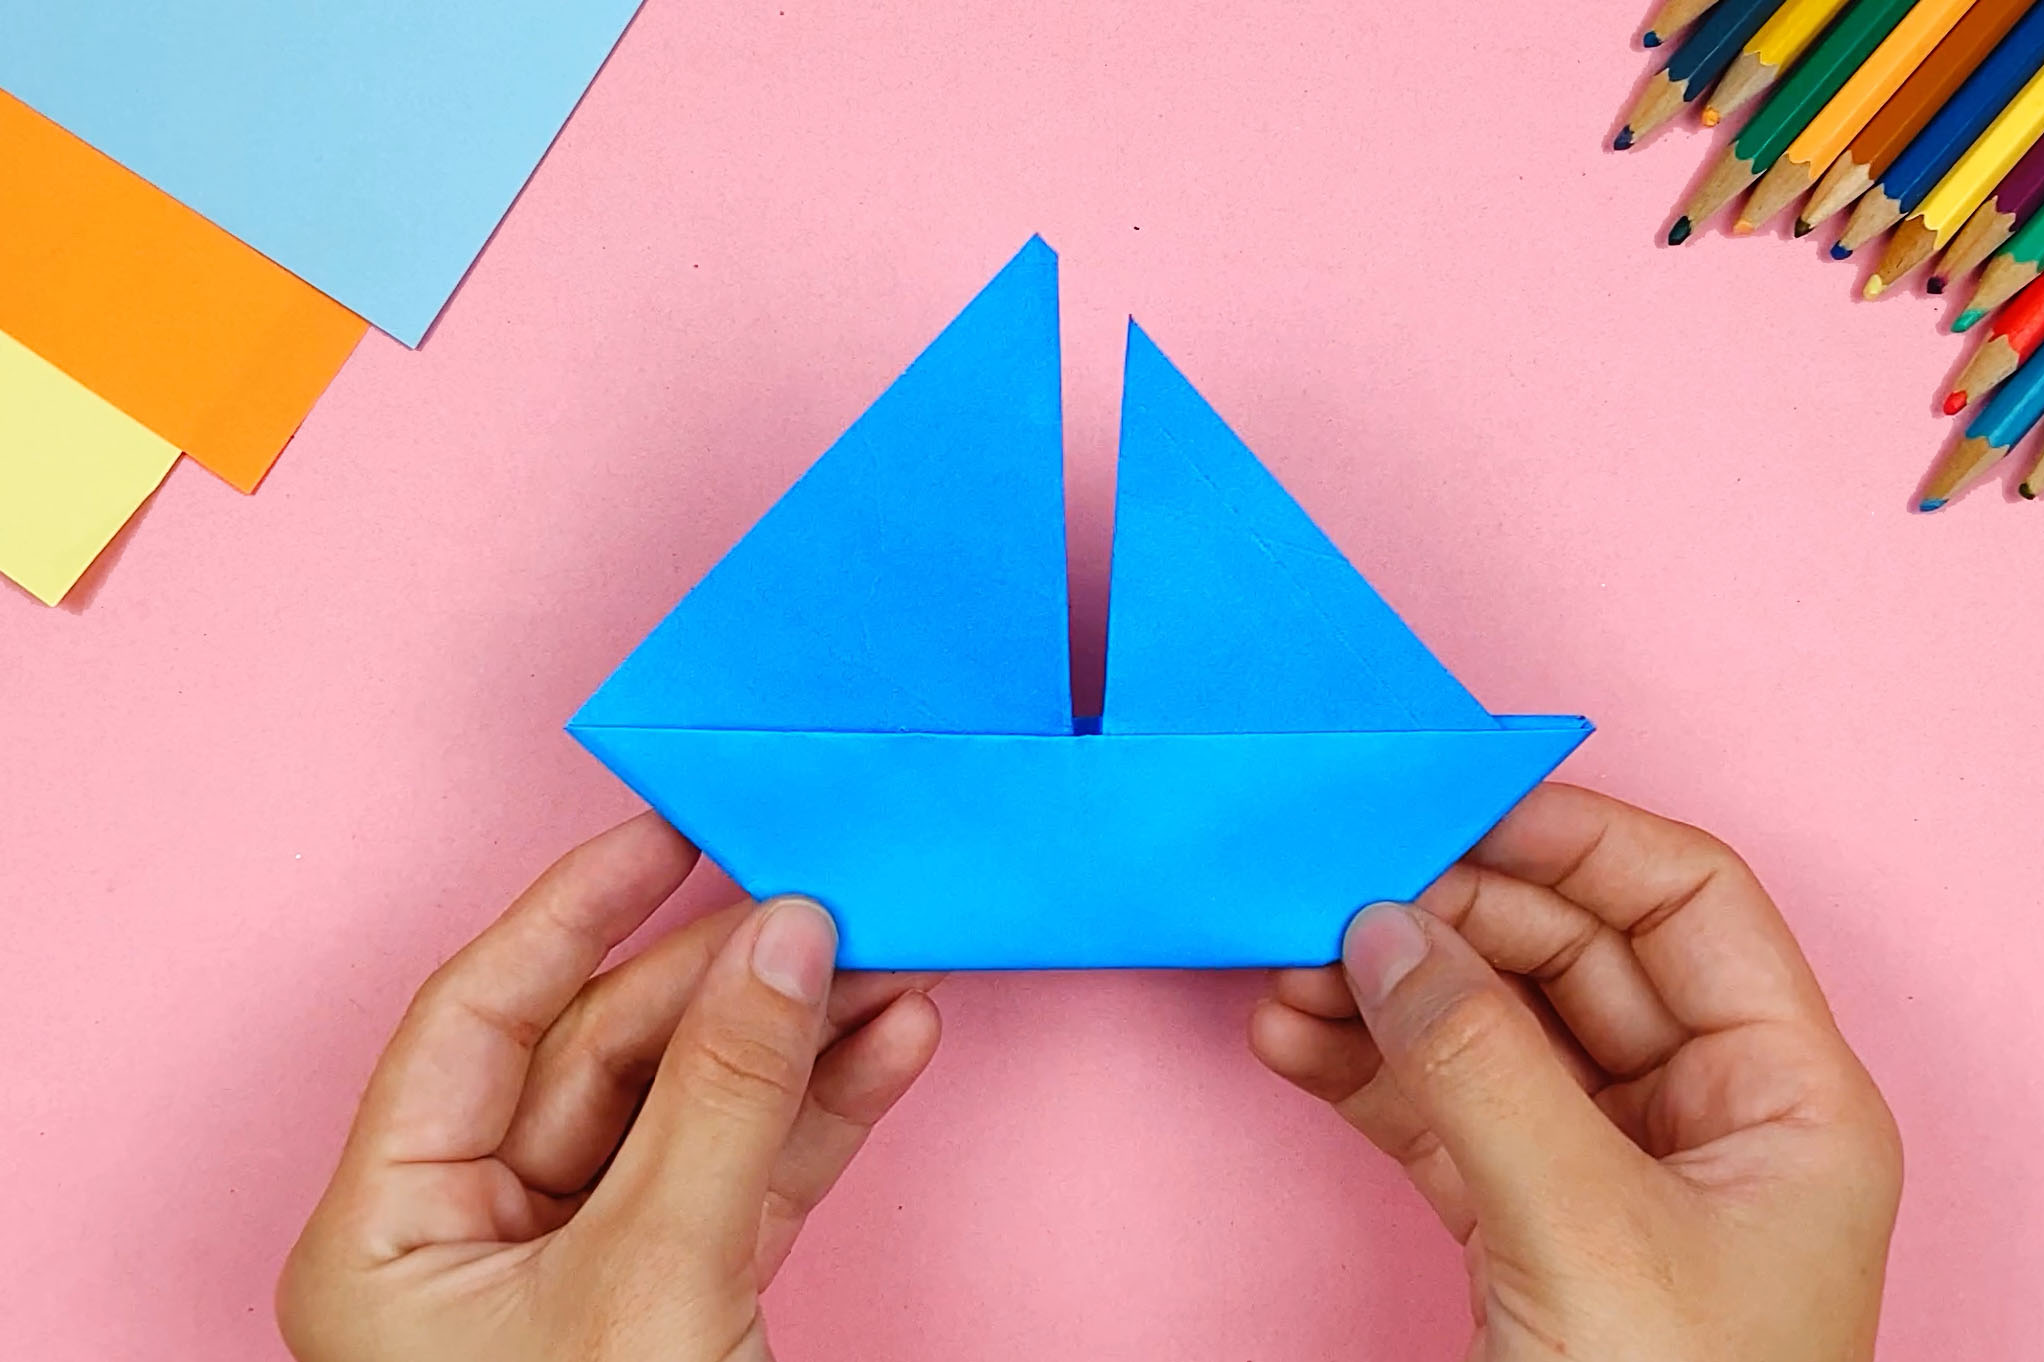
Envelopes are a dime a dozen. You buy them in big packs and each envelope looks like the other. But have you ever asked yourself the question “How do you make an envelope?”. If you don’t have a ready-made envelope on hand right now and absolutely need one, this is the perfect stopgap. Plus, homemade envelopes are great for sending invitations and greeting cards. You choose a color you like and create attractive, unique envelopes with a personal touch. Of course, you can decorate your envelopes with stickers, drawings and lettering. Here you can learn how to fold an envelope step by step.

Step 1: Create a square
Take either a square paper or a rectangular sheet in any color. To make a square, fold the top right corner down so that the top touches the bottom edge. You cut out the folded triangle and open it again. The square is finished.

Step 2: Fold twice
If you make the square from a rectangle, then there is already a line leading from one corner to the other. Otherwise, you put the opposite corners together and smooth the shape. You open the square, put the other corners on top of each other and create a fold here as well. You unfold the triangle again and you have a square with an X in front of you.

Step 3: Corners inward
Fold two opposite corners inward so that their tips touch the center. Then you do the same with another corner. Now three tips touch each other.

Step 4: Closure flap of the slurry envelope
You fold open the middle tip again. This will later be the closing flap. The remaining of the four corners you fold so far inward that the tip extends far beyond the center and touches the upper visible edge. This gives your envelope a rectangular shape.

Step 5:
Fold the large lower triangle again and fold the edges about two centimeters inward. Then you unfold the edges again.


Step 6:
You fold the top up to the bottom edge, then fold the pre-folded side edges over it.


Step 7: Create tab
You unfold the corner again and push the sides of the corner under it, creating a flap. Then take the entire bottom piece and fold it up. Insert the flap into the opening so that the center triangle is firmly attached to the two adjacent triangles. Your envelope is ready.

Step 8: Personalize your envelope
A self-made envelope needs an individual design. With a few stickers you give the envelope a very special touch. You can choose the stickers according to the occasion and stick, for example, small Easter bunnies or Santa Clauses on the envelope. Or you can take a pen and embellish the envelope yourself. Gel pens are particularly suitable for this.
How about a dark blue envelope full of golden stars, for example? Or you decorate the envelope with small hearts. You also achieve a great result if you design the edges in a different color than the rest of the envelope. Or you can choose a white sheet of paper and then color it with crayons. Maybe your envelope will shine in rainbow colors. Just let your imagination run wild.
All instructions shown here are copyrighted by happycolorz GmbH.
Interested in using it? Please just send an email to nutzung@happycolorz.de.
More Crafting Ideas
-

Bee craft -

How to Make a Paper Boat -

How to make an envelope -

Ladybug Craft -

Origami Boat -

Butterfly Craft
More ideas for drawing
-

Airplane drawing -

Plane drawing easy -

Apple drawing -

Bicycle drawing -

Ship drawing -

Car drawing -

Car drawing easy -

Cat drawing -

Cow drawing -

Dinosaur drawing -

Dog drawing -

Puppy drawing -

Dragon drawing -

Digger drawing -

Fairy drawing -

Giraffe drawing -

Lion drawing -

Mermaid drawing -

Moon drawing -

Motorcyle drawing -

Penguin drawing -

Pig zeichnen (einfach) -

Princess drawing -

Reindeer drawing -

Rooster drawing -

Santa Claus drawing -

Shark drawing -

Sheep drawing -

Strawberry drawing -

Sunflower drawing -

Tiger drawing -

Tractor drawing -

Train drawing -

Tree drawing -

Tree drawing easy -

Tulip drawing -

Turtle drawing -

Unicorn drawing -

Unicorn drawing easy -

Witch drawing

