

This template will help you draw a Santa Claus step by step.
We recommend a hard pencil, an eraser, an eraser-proof pencil and red, green and brown colored pencils for this drawing.
Welcome to our delightful guide on how to draw Santa Claus in just 8 easy steps! This tutorial is perfect for children and beginners, making it an enjoyable project for anyone aged 5 and up. Through simple, clear instructions, you’ll learn how to create a charming depiction of Santa using basic drawing techniques.
Using a combination of pencil sketches and vibrant colors, you’ll bring this iconic holiday figure to life on paper. Whether you’re a budding artist or a parent looking to spend creative time with your kids, this step-by-step guide will ensure you have a holly jolly time drawing Santa Claus.
What You Will Need
- 2B pencil for sketching the outlines
- 4B pencil for adding depth and detail
- Eraser for removing guidelines
- Colored pencils: red, black, dark brown, green (or beige/brown) for coloring
- White drawing paper, preferably A4 size
- Fine-tip black marker for final outlines

Step 1: Head and torso
Start by drawing Santa’s head, which is slightly oval in shape. Position it at the top center of your paper. Directly below, sketch the torso as a rounded rectangle that’s not quite circular. Tip: Keep your pencil strokes light so you can easily adjust as needed.

Step 2: Coat
Next, it’s time to add Santa’s coat. Draw a bell-shaped curve below the torso, which will form the flowing lower part of his coat. Ensure the coat flares out slightly to give it a full and festive appearance.

Step 3: Limbs and gift bag
To create Santa’s limbs, draw stick figure arms and legs. Use small circles to indicate the joints. Santa’s iconic gift bag rests on his back, so sketch its rough outline as well. Tip: Check the template for the correct positioning of Santa’s limbs and sack.

Step 4: Beard and cap
Now, bring Santa’s face to life by drawing his fluffy beard and hinting at his famous red cap. Additionally, sketch a line down the center of the coat to help guide you in the next steps.

Step 5: First final contours and face
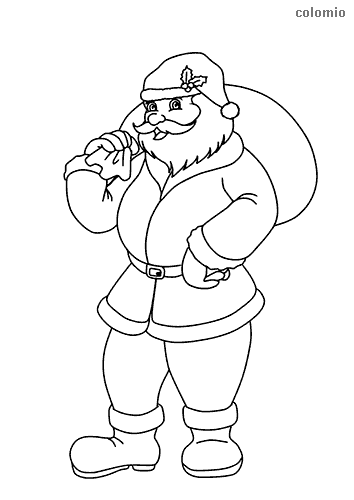
With your drawing pencil, trace over the initial contours to make them permanent. Define the coat’s shape and add a belt around the waist. Finalize the arms and outline the sack and hat. Don’t forget to add Santa’s cheerful face, complete with a sweeping upper lip beard.

Step 6: Legs and boots
Shift your focus to Santa’s legs and boots. Add details such as the button placket in the center of the coat and the hem at the bottom. Draw his legs in pants, and top them off with his iconic boots.

Step 7: Removing the guides
It’s time to clean up your drawing by erasing all the guide lines you no longer need. Now, Santa should stand clearly on your paper, ready for the final touch of color.

Step 8: Colorize
Finally, bring Santa to life with color! Paint his hat, pants, and coat in vibrant red. Use black or dark brown for the boots, belt, and gloves. Leave the beard, coat hem, and other details white. The sack can be green, beige, or brown—feel free to choose your favorite color!
More Template Ideas


Your Santa Claus Drawing Is Complete!
Congratulations on completing your Santa Claus drawing! You’ve done a fantastic job bringing the holiday spirit to life with your artwork. If you enjoyed this tutorial, be sure to check out our other drawing guides, such as how to draw a reindeer or a Christmas tree. Keep practicing and happy drawing!
Tips for an Even Better Santa Drawing
Santa Claus is one of the most recognizable characters in the world, but that recognition rests on just three details: the big white beard, the red pointed hat with a white pompom, and the warm, friendly eyes. If those three are right, you can be loose with everything else – the body, the boots, even the proportions – and people will still see Santa.
The beard should cover roughly half of Santa’s face and reach down to his chest. Don’t draw it as a perfect oval – let it have soft, irregular edges and a few visible curls. A small mustache that just touches the top of the beard adds instant personality.
For the hat, the trick is the tilt. A perfectly upright hat looks stiff. Tilt the tip slightly to one side and let the pompom fall naturally with gravity. The white fur band at the bottom of the hat should be thick – about as tall as Santa’s forehead.
The eyes are tiny but carry the whole expression. Use small, round black dots with a single white highlight, and add two short curved lines for happy crinkles at the outer corners. Those two lines turn an ordinary face into a kind grandfather.
Santa Variations Around the World
Santa Claus has dozens of cultural cousins. Try one of these for a non-clichéd Christmas drawing:
- Classic American Santa: Bright red coat, black belt with golden buckle, round belly, rosy cheeks – the Coca-Cola version most kids picture today.
- Saint Nicholas (European): Slimmer, taller, often in a long red bishop’s robe with a mitre instead of a fur hat. Carries a staff or a book of names.
- Father Christmas (British): Long forest-green or burgundy hooded robe, holly leaves in the hood. Older, more solemn look.
- Cartoon Santa: Oversized head, tiny body, exaggerated round belly, simplified beard. Easier for younger kids to draw.
- Modern Casual Santa: Red sweater with reindeer print, jeans, sneakers – great for funny Christmas cards.
Build a Whole Christmas Scene
Once you can draw Santa, you can put him into a scene with very little extra effort. Combine him with one of these classic settings:
- Coming down the chimney: Only the top half of Santa’s body visible above a stone chimney. The most famous Christmas pose.
- With sack over the shoulder: Add a brown round sack tied with rope, with a few wrapped gifts and a teddy bear poking out the top.
- In front of the tree: A simple green triangle with a yellow star and three or four colored circles as ornaments. Santa stands beside it placing a gift.
- Sleigh and reindeer: Combine Santa with our reindeer drawing tutorial. The sleigh is just an upside-down arc with two curved runners underneath.
- Cookies on the table: Santa sitting on a small chair, a plate with three cookies and a glass of milk in front of him – perfect for a kids’ Christmas Eve drawing.
Coloring Santa Without It Looking Flat
Plain solid red makes Santa’s coat look cheap. To get a richer, more storybook look, layer your reds: start with a light red or pink base over the whole coat, then add a deeper crimson in the shadow areas (under the belt, inside the arm fold, along the bottom hem). The fur trims should be left almost pure white – only add a soft gray shadow underneath.
For the skin, use a peach base and add a small touch of pink on the nose and cheeks. Don’t color the whole face pink – just two small circles – otherwise Santa starts to look feverish instead of jolly.
Common Mistakes to Avoid
1. The beard is too small. A small, trimmed beard makes Santa look like an ordinary old man. The beard should reach down to mid-chest at minimum.
2. The hat tip points straight up. A vertical hat tip is the #1 sign of a rushed Santa drawing. Always let it fall sideways.
3. The pompom floats off the hat. The white pompom must clearly touch the tip of the hat – otherwise it looks like a separate snowball next to Santa’s head.
4. The belt is too thin. Santa’s belt should be visibly thick (about twice the width of a normal belt) with a clearly oversized rectangular golden buckle.
5. Forgetting the eye highlights. Without two tiny white dots in the eyes, Santa looks tired or angry. Always add them last.
Frequently Asked Questions About Drawing a Santa Claus
What type of paper is best for drawing Santa Claus?
White drawing paper, preferably A4 size, is ideal for this project.
Can I use markers instead of colored pencils?
Yes, you can use markers, but be careful with the ink bleeding through the paper.
Is this tutorial suitable for beginners?
Absolutely! This tutorial is designed for beginners and is easy enough for children aged 8 and up.
How can I add more details to my Santa drawing?
You can add more details by using a finer pencil for shading and a black marker for defining outlines.
What other colors can I use for Santa’s sack?
Besides green, you can use beige or brown, or get creative with any color you like.
Take a picture and send it to [email protected] – we publish it on www.colomio.com!
All tutorials and images are copyrighted by happycolorz GmbH. Interested in using it? Please send a mail to [email protected].
More ideas for drawing
-

Airplane drawing -

Plane drawing easy -

Apple drawing -

Bicycle drawing -

Ship drawing -

Car drawing -

Car drawing easy -

Cat drawing -

Cow drawing -

Dinosaur drawing -

Dog drawing -

Puppy drawing -

Dragon drawing -

Digger drawing -

Fairy drawing -

Giraffe drawing -

Lion drawing -

Mermaid drawing -

Moon drawing -

Motorcycle drawing -

Penguin drawing -

Pig zeichnen (einfach) -

Princess drawing -

Reindeer drawing -

Rooster drawing -

Santa Claus drawing -

Shark drawing -

Sheep drawing -

Strawberry drawing -

Sunflower drawing -

Tiger drawing -

Tractor drawing -

Train drawing -

Tree drawing -

Tree drawing easy -

Tulip drawing -

Turtle drawing -

Unicorn drawing -

Unicorn drawing easy -

Witch drawing
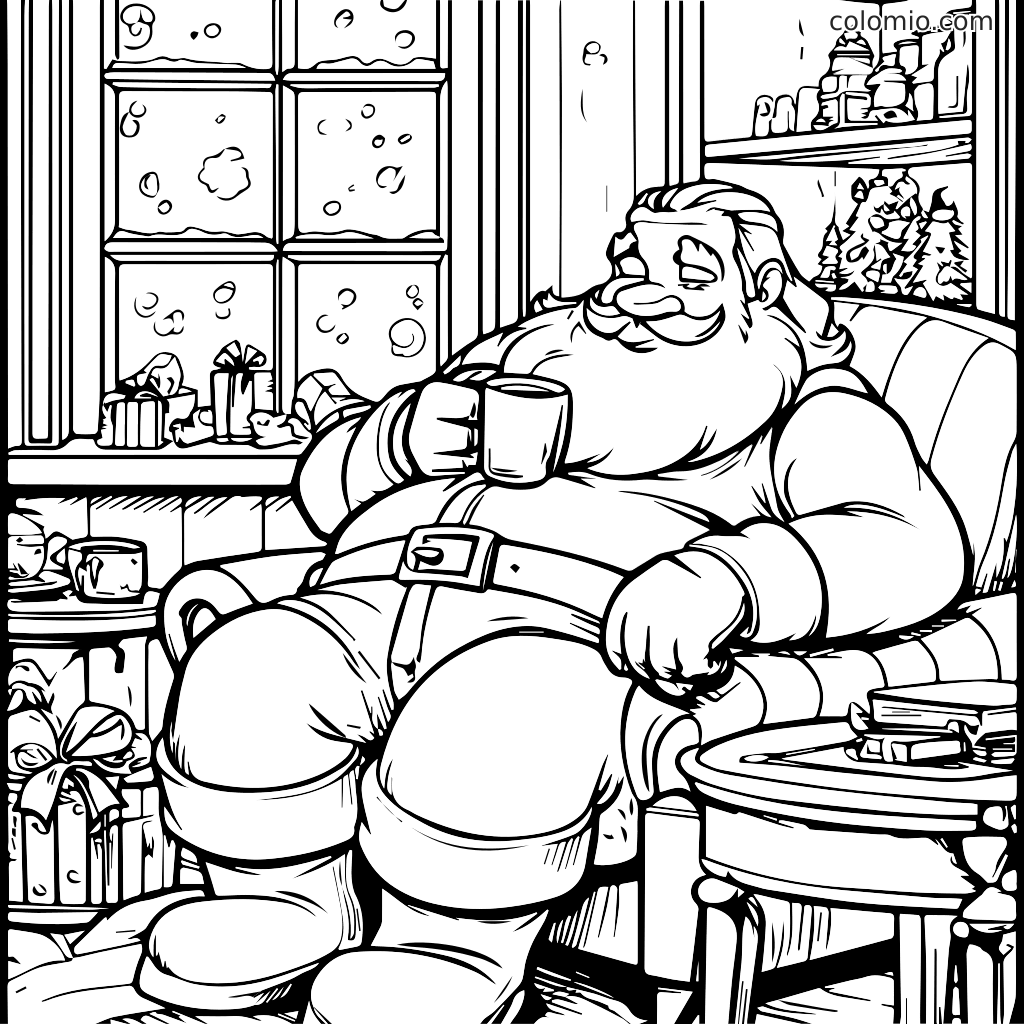
Print our free printable santa coloring pages — ready-to-print line art, no signup.